
We’ve moved our npm package from convex-dev to convex!
Our npm package is now published at https://www.npmjs.com/package/convex.
Additionally, we added schema generation and made some other minor updates. Let us know what you think!
convex-dev → convex
As said above, we’ve renamed our npm package! It now lives at https://www.npmjs.com/package/convex.
Switching the name of our npm package aligns it with the name of the Convex command-line interface (npx convex). It also makes the package easier to find and remember!
To migrate your app:
1. Switch the npm package in your project from convex-dev to convex.
npm uninstall convex-dev
npm install convex
2. Update all of your TS and JS imports from convex-dev to convex with a find/replace.
Importantly, we won’t be pushing updates to convex-dev. You should switch to using convex so that you continue to stay up to date with our latest changes.
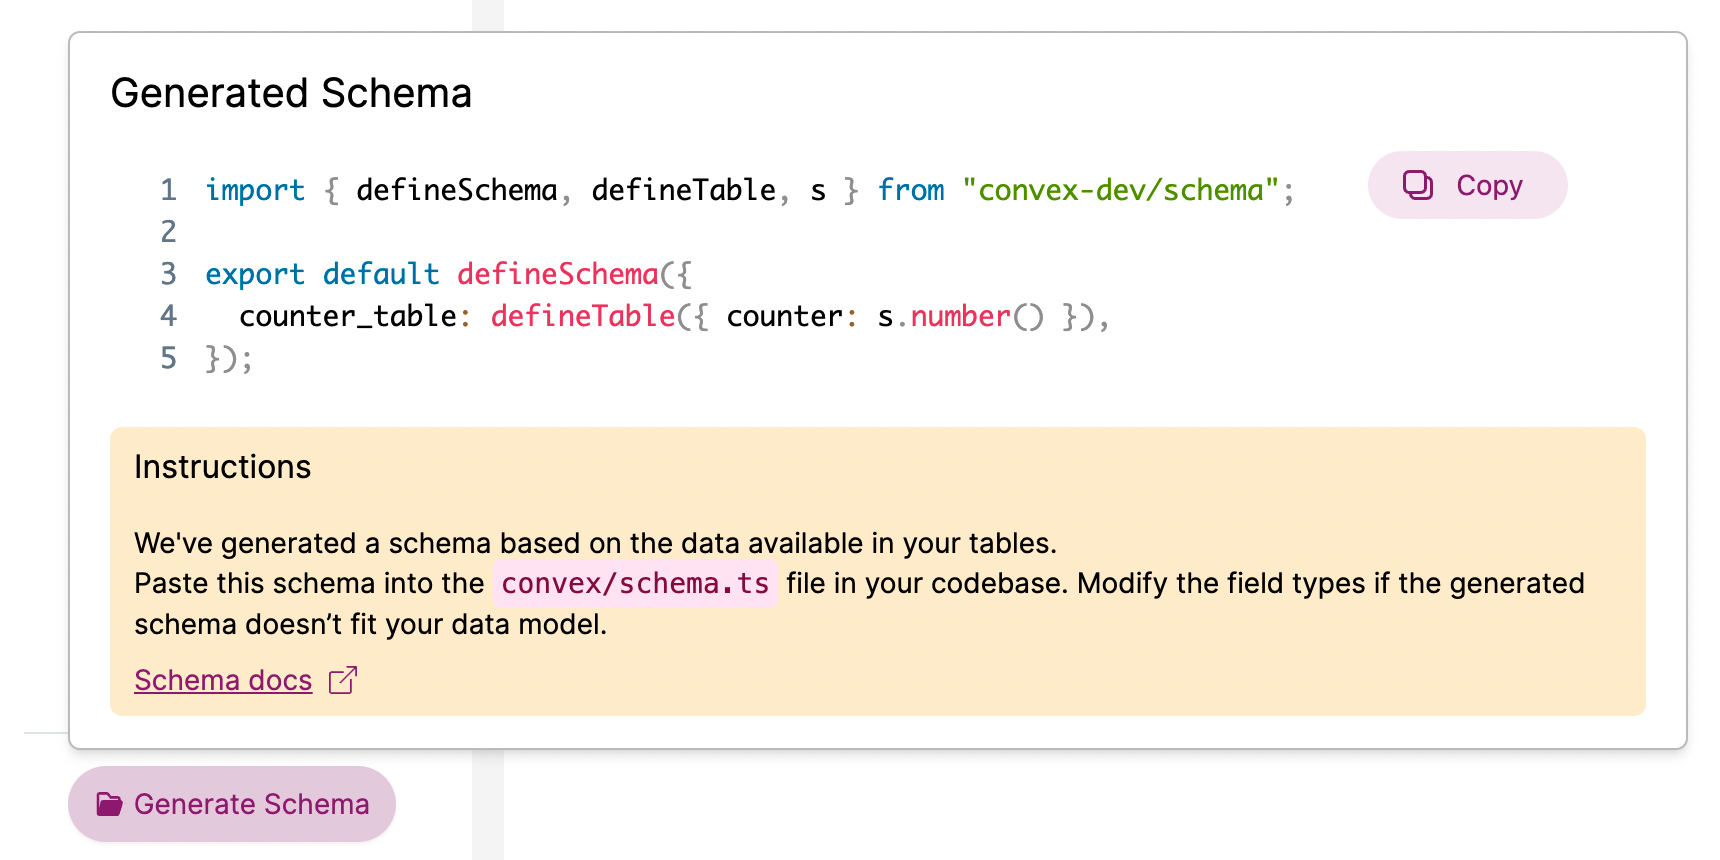
Schema Generation
Convex can now automatically generate a schema for you based on the data in your tables! This allows you to use schema-specific TypeScript types without having to define your schema manually.
To generate a schema:
- Begin with a project without a schema. Use your app to create data in your tables.
- Hit the “Generate Schema” button in the dashboard data view.
- Copy the schema and paste it in
convex/schema.ts. - Rerun
npx convex codegen - Enjoy beautiful TypeScript types!
For more information, see the documentation on Defining a Schema.
Minor Changes
- The logs view in the dashboard has been revamped! It’s now easier than ever to see your function invocations and their log lines.
- We now code-generate an
OptimisticLocalStoretype inconvex/_generated/react.ts. This is useful for writing the type oflocalStorein optimistic updates. - The
Valuetype is now a union of the values that Convex supports. - The documentation on our command-line interface has been improved to be more clear and thorough. There is also a CLI cheat sheet in our quick start guide.